
Delicious Cinnamon Apple Toast Roll-Ups Recipe
When it comes to comfort food, few dishes evoke the warmth and nostalgia of home like cinnamon apple toast roll-ups. This delightful treat marries the sweetness of baked apples with the comforting crunch of toasted bread, creating a flavor and texture combination that is simply irresistible. Whether you’re looking for a quick snack, a fun breakfast option, or a dessert to satisfy your sweet tooth, cinnamon apple toast roll-ups are versatile enough to fit the bill.
The beauty of this recipe lies in its simplicity. With just a handful of ingredients and minimal preparation time, even novice cooks can create a delicious dish that will impress family and friends. If you’re searching for an easy yet indulgent recipe to add to your culinary repertoire, look no further than these delightful roll-ups.
Understanding the Ingredients
To craft the perfect cinnamon apple toast roll-ups, it’s essential to understand the key ingredients that make this dish so special. Each component plays a significant role in achieving the ideal flavor and texture.
Apples: Choosing the right apples is crucial for this recipe. Granny Smith apples are a popular choice due to their tartness, which provides a pleasing contrast to the sweetness of the cinnamon and sugar. Alternatively, Honeycrisp apples offer a juicy sweetness that can elevate the dish. Ultimately, the best apple for your roll-ups depends on your personal taste preference, but a balance of sweetness and tartness will yield the best results.
Bread: The type of bread you use can significantly impact the final product. White bread is the traditional choice, as its soft texture is easy to flatten and roll. However, whole grain or sourdough bread can add an interesting twist, providing additional flavor and a heartier texture. The key is to select bread that is pliable enough to roll without tearing.
Lemon Juice: A splash of lemon juice serves two purposes in this recipe. First, it enhances the flavor of the apples, providing a zesty brightness that cuts through the sweetness. Second, it prevents the apple slices from browning, ensuring that your roll-ups maintain an appealing appearance.
Brown Sugar and Cinnamon: These two ingredients form the heart of the flavor profile for your roll-ups. Brown sugar adds depth and a hint of molasses, while cinnamon introduces a warm, aromatic spice that complements the apples beautifully. Together, they create a sweet and fragrant mixture that is impossible to resist.
Butter and Granulated Sugar: Finally, a little melted butter brushed on the outside of the roll-ups, followed by a sprinkle of granulated sugar, contributes to a golden, crispy texture. This finishing touch not only enhances the flavor but also creates a delightful crunch that contrasts with the soft apple filling.
Step-by-Step Preparation
Now that we’ve covered the essential ingredients, let’s dive into the step-by-step preparation of these scrumptious cinnamon apple toast roll-ups.
Preparing the Apples
Start by washing and peeling your chosen apples. For this recipe, approximately two to three medium-sized apples should suffice, depending on how many roll-ups you wish to make. Once peeled, core and slice the apples into thin, even pieces. Aim for slices about a quarter of an inch thick for optimal cooking and tenderness.
Next, place the sliced apples in a mixing bowl and drizzle with about a tablespoon of lemon juice. This will not only enhance their flavor but also keep them looking fresh. After adding the lemon juice, sprinkle in a generous amount of brown sugar and cinnamon—about half a cup of brown sugar and one to two teaspoons of cinnamon should do the trick. Toss the apple slices gently to ensure they are evenly coated. Allow the mixture to sit for about 10-15 minutes; this marinating time will enhance the flavors as the apples absorb the sugar and cinnamon.
Flattening the Bread
While the apples are marinating, it’s time to prepare the bread. Take your slices of bread and lay them out on a clean surface. Using a rolling pin, gently flatten each slice until it’s about half its original thickness. This step is essential as it makes the bread more pliable, allowing for easier rolling and better retention of the apple filling.
If you don’t have a rolling pin, you can also use the bottom of a heavy glass or a jar to achieve similar results. Just be careful not to press too hard, as you want the bread to remain intact without tearing.
Assembling the Roll-Ups
Once your bread is flattened and your apple mixture is ready, it’s time to assemble the roll-ups. Start by taking a slice of the flattened bread and placing a small portion of the apple mixture at one end. Aim for about two to three tablespoons of the filling, but be careful not to overload it, as this could make rolling difficult.
Gently roll the bread slice away from you, enclosing the apple filling as you go. Once rolled, you can secure the edge with a little bit of the apple mixture or a dab of butter to keep it in place. Repeat this process with the remaining slices of bread and apple filling until you’ve created all of your roll-ups.
With the roll-ups assembled, you’re now ready to move on to the cooking phase, which will elevate these delicious treats to a golden brown perfection. Stay tuned for the next section, where we’ll explore the best methods for cooking your cinnamon apple toast roll-ups to achieve that crispy, mouth-watering finish.
Best Practices for Rolling to Prevent Spillage
Rolling the toast roll-ups is a crucial step in ensuring that your delicious cinnamon apple treats hold together beautifully. To prevent any filling spillage during baking or serving, follow these best practices:
1. Use Fresh Bread: Start with fresh bread that is soft and pliable. Stale or overly toasted bread can crack and make rolling difficult.
2. Flatten the Bread: Use a rolling pin to gently flatten each slice of bread. This not only makes it easier to roll but also creates a thin layer that can hold the filling better.
3. Don’t Overfill: When spreading the apple mixture, use just enough to cover the bread without going overboard. A couple of tablespoons of filling should suffice. This minimizes the chances of the filling oozing out during the baking process.
4. Roll Tightly but Gently: When rolling the bread, start from one end and roll tightly but gently. This keeps the filling secure without tearing the bread.
5. Seal the Edges: After rolling, pinch the ends of the roll-ups to seal them. You can also use a little bit of the apple mixture to help stick the edges together.
Coating the Roll-Ups
Once your roll-ups are securely rolled, it’s time to coat them in the buttery cinnamon-sugar mixture. This coating not only enhances flavor but also contributes to a beautiful golden finish. Here’s how to prepare this delightful topping:
Butter and Sugar Mixture Explained
The combination of melted butter and sugar serves a dual purpose:
– Flavor: The butter adds richness, while the sugar provides a sweet crunch that contrasts beautifully with the soft interior of the roll-ups.
– Browning: This mixture helps achieve that coveted golden-brown appearance as the roll-ups bake. The sugar caramelizes, creating a delightful crunch on the outside while keeping the inside tender and flavorful.
To prepare this mixture, simply melt about 4 tablespoons of unsalted butter and combine it with ½ cup of granulated sugar and 1 tablespoon of ground cinnamon. Mix until well combined, and keep it ready for coating the roll-ups.
Alternative Coatings or Variations
If you’re looking to switch things up, consider these alternative coatings and variations:
– Nuts: Add chopped pecans or walnuts to the sugar mixture for a crunchy texture and nutty flavor.
– Coconut: For a tropical twist, incorporate shredded coconut into the coating mixture.
– Chocolate: Drizzle melted chocolate over the finished roll-ups for a decadent touch.
Baking the Roll-Ups
Preheating the Oven
Before you start baking, it’s essential to preheat your oven to 375°F (190°C). This ensures that the roll-ups bake evenly, resulting in a perfectly crisp exterior and a soft, warm interior.
Importance of Proper Oven Temperature for Even Baking
Baking at the right temperature is critical. If the oven is too hot, the outside may brown too quickly while leaving the inside undercooked. Conversely, if the oven is not hot enough, the roll-ups may not rise properly or develop that lovely golden color. For best results, use an oven thermometer to ensure accuracy.
Baking Process
Once your oven is preheated and your roll-ups are coated, place them seam-side down on a baking sheet lined with parchment paper. This helps prevent sticking and makes for easier cleanup. Bake for about 15-20 minutes, or until golden brown.
Visual Cues for Knowing When the Roll-Ups Are Ready
Keep an eye on your roll-ups as they bake. You’ll know they’re ready when:
– They turn a golden brown color.
– The sugar coating starts to bubble slightly.
– A toothpick inserted into the center comes out clean.
Discussion on How Baking Transforms the Ingredients
Baking is a magical process that enhances flavors and textures. As the roll-ups bake, the heat causes the sugars to caramelize, resulting in a rich, complex flavor. The apples soften and meld with the cinnamon, creating a warm and inviting aroma that fills your kitchen. The bread crisps up, providing a delightful contrast to the soft apple filling.
Garnishing and Serving Suggestions
Options for Garnishing
Once the roll-ups are baked to perfection, consider how to dress them up for serving. Here are some ideas:
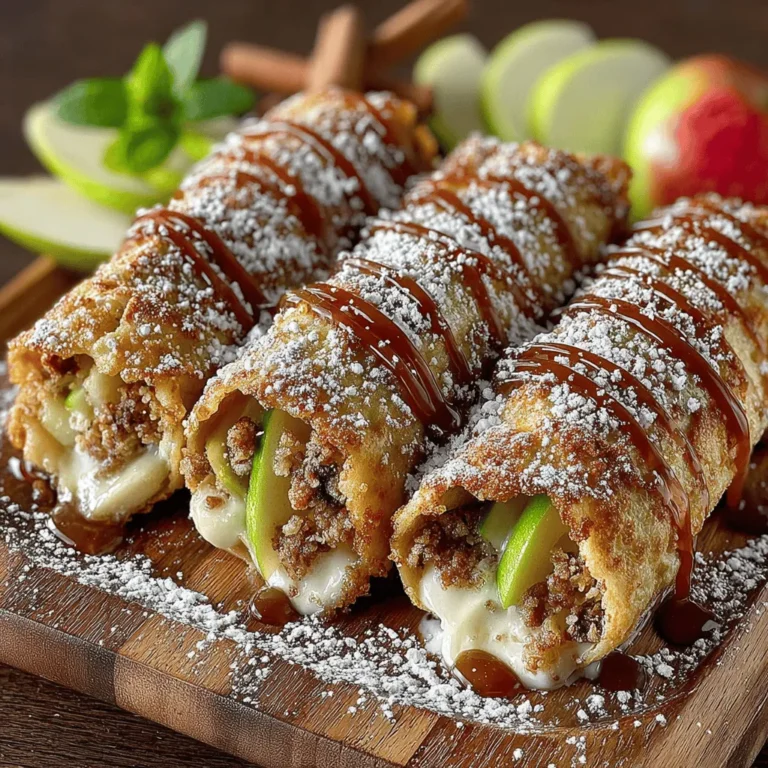
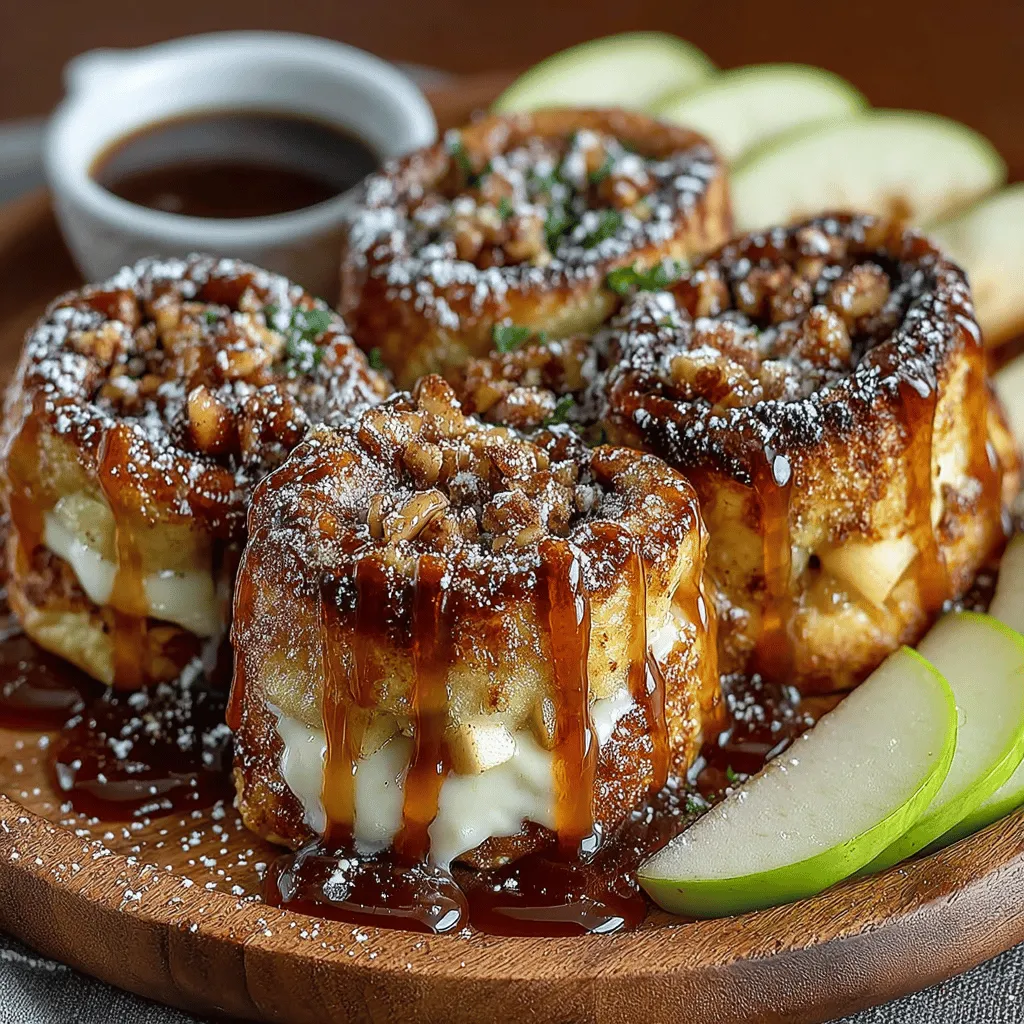
– Powdered Sugar: A light dusting of powdered sugar adds an elegant touch and a hint of sweetness.
– Caramel Sauce: Drizzling warm caramel sauce over the roll-ups creates a decadent finish that is sure to impress.
Ideas for Pairing with Beverages
These delightful roll-ups make a perfect snack or dessert, but they can also shine as part of a brunch spread. Consider pairing them with:
– Coffee: A rich cup of coffee complements the sweetness of the roll-ups beautifully.
– Tea: Herbal or chai tea provides a warming contrast to the cinnamon flavors.
Suggestions for Presentation
Presentation is key to making your roll-ups visually appealing. Here are some tips:
– Plating: Serve the roll-ups on a decorative platter, and arrange them in a spiral for an eye-catching display.
– Accompaniments: Add fresh apple slices or a bowl of whipped cream on the side for dipping.
Nutritional Information and Variations
Overview of Nutritional Benefits
These cinnamon apple toast roll-ups are not only delicious but can also offer some nutritional benefits:
– Apples: A great source of dietary fiber and vitamin C, apples can contribute to overall health.
– Cinnamon: Known for its anti-inflammatory properties, cinnamon can help regulate blood sugar levels.
Ideas for Healthier Substitutions
If you’re looking to make the roll-ups a little healthier, consider these substitutions:
– Whole Grain Bread: Switch to whole grain or whole wheat bread for added fiber and nutrients.
– Reduce Sugar: Cut back on the sugar in the coating mixture or use a natural sweetener like honey or maple syrup.
Variations for Dietary Preferences
There are plenty of ways to adapt this recipe to fit different dietary needs:
– Vegan Options: Use plant-based butter and non-dairy milk for the apple filling to make a vegan version of this treat.
– Gluten-Free Alternatives: Substitute regular bread with gluten-free bread to cater to those with gluten sensitivities.
Conclusion
In this exploration of delicious cinnamon apple toast roll-ups, we’ve covered everything from rolling techniques to baking tips, garnishing ideas, and nutritional information. These roll-ups not only serve as a comforting snack but also bring joy and warmth to any gathering or brunch spread.
The magic of creating and sharing this dish lies not only in the delightful flavors but also in the memories made with family and friends around the table. We encourage you to try this recipe and savor the comforting taste of cinnamon and apple that is sure to evoke smiles and happiness. Happy cooking!
